Windows 7 Installation Step by Step
In order to install your copy of the Windows 7 operating system please make sure to have the
following items:
-Windows 7 Installation disk
USB with installation: * Use after installation process if needed.
*NOTE: Please make sure to back up all of your important data before proceeding with this
installation.
Step 1. Insert the Windows 7 operating system disk into your DVD drive, and then restart your computer
Step 2. You will see a prompt that says ‘Press any key to continue’ after the ZT logo disappears. When
you see this press any key immediately.
*NOTE: The following screen shots may differ from what you may see during your installation. (i.e. Win7 version, HDD disk space etc..)

Step 3 ‘Starting Windows’ with the Windows7 logo will appear.

Step 4. Languageoptions, by defaultEnglish will be set along with “timeand currency format”and “keyboard or input method”
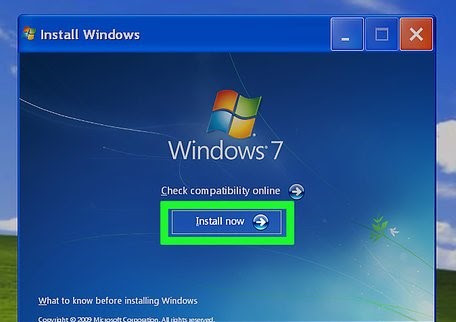
Step 5. Click “Install Now”

Step 6. End User License Agreement (E.U.L.A.), check the box to accept, and click “Next

Step 7. “Which type of installation?” window will appear.Upgrade will be greyed out; the only option you should be able to choose is Custom (advanced).

Step 8. “Where do you want to install windows?” Make sure the partition is highlighted.
Step 9. Delete the partition by clicking on Drive options(advanced) on the bottom right corner of the field. Make sure the partitionis highlighted and click on Delete. If drive advancedoptions is greyedout, then the partition will not have to be deleted.
*NOTE: Deleting the partitions will erase all data on the system

Step 10. Disk 0 Unallocated Space should be the only listing at this point. If it is press next, If not please proceed to delete any additional partitions that may be listed.
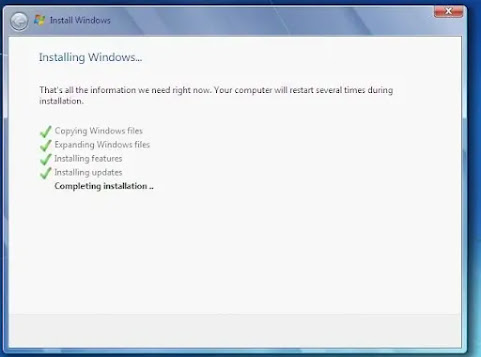
Step 11. The next screen will show “Installing Windows”. This processshould take approximately 10 minutes after which the system will reboot
*NOTE: Do not press any keys during this boot up process so as to not disturb the rest of the installation.
Step 12. The next screen will show “Installing Windows” again to complete the installation process.

Step 13. “Setup is starting Windows”will appear on the screen,then you will be askedto create a user name and a computer name.

Step 14. The next step will prompt you to create a password for your account (optional).

Step 15. The next screen will come up and ask you to choose one of three options:“Use recommended settings”, “Install important updates only” and “Ask me later”.

Step 16. This screen will allow you to choose your local time zone and also adjust the date and time.

Step 17. Click on the appropriate locationof your computerto enable Windows7 to apply the correctnetwork settings.

The installation is done! You have successfully installed Windows 7 on your computer.